At the beginning of this week I made the little yellow dress for my granddaughter, Emily. She is very much into purses, so I decided I'd make the purse that was in the pattern for her as well. I wanted the sides to be somewhat stiff, so I used fusable craft interfacing, which was stiffer than what you'd put into shirts. And since the eyelet fabric was so pretty, I decided to fuse the interfacing to the lining instead. I used a lighter-weight interfacing for the gusset so they purse could fold on itself.
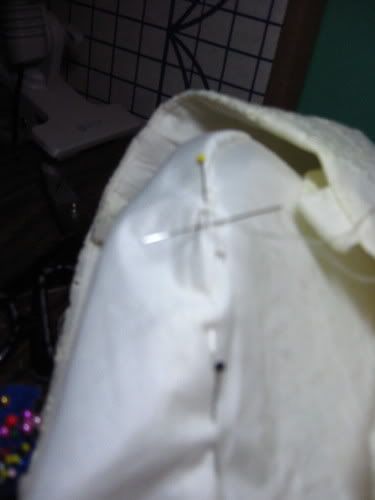
The first step was to stay-stitch the gusset. Since the pattern has 5/8" seams I normally stay-stitch at 1/2". Then when I cut up to the stay-stitching, there's no chance of cutting too far. This photo shows the stay-stitched and cut gusset being pinned to the side of the purse.
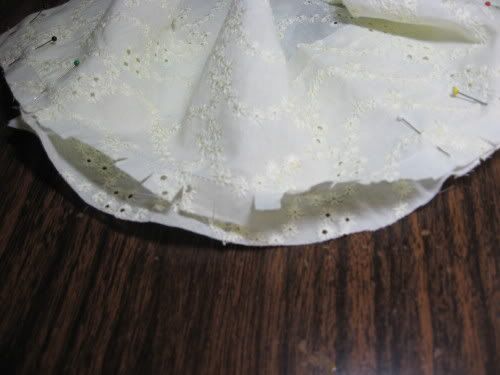
Here's the completly pinned piece.
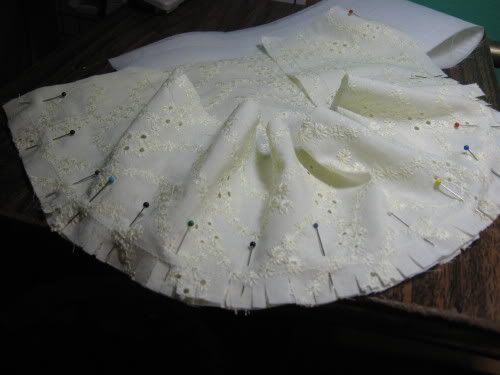
Laying behind it is the interfaced lining gusset that has been stay-stitched but not yet cut. Once I got the purse sewn together, I realized that it was going to be awfully big for a 2-year old, so I trimmed 1" off the top of everything.
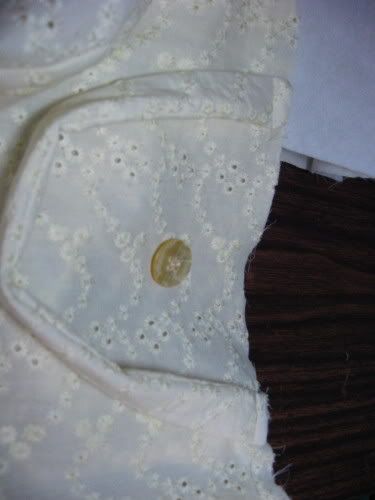
I decided that I wanted some buttons on the purse for decoration. So I stitched those on next.

Then came the handles. I'd used the lighter weigth interfacing in those as well. They had been sewn with a 3/8" seam. I sewed the end of one of them to make it easier to turn right side out using an unsharpened pencil to push. I basted them to the top of the purse using 1/2" seam so that it wouldn't show when I did my final 5/8" seam, and I could just leave that basted seam there as well. You can see how the handle at the top of the photo has the end sewn.
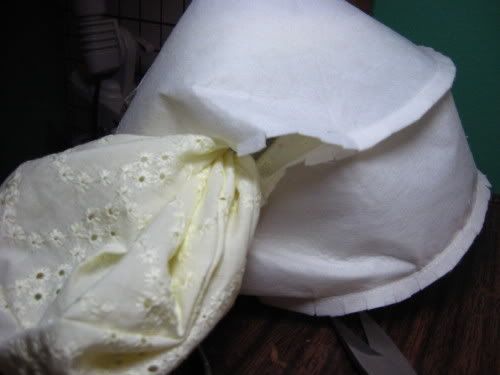
Next the lining was put together in the same fashion as the purse, but with a few inches left open on the side where the gusset attached so that the purse could be turned right side out at the end. This photo shows the purse all pinned to the lining and ready to be sewn.
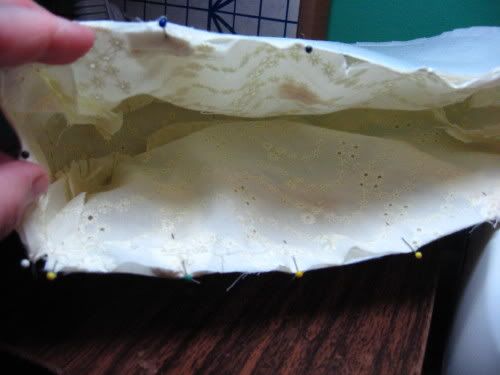
After doing this seam I trimmed it and then understitched the seam to the lining to help keep the eyelet fabric from moving into the inside of the purse. With the stiff interfacing it was a little hard to turn the purse right side out. You can see the purse coming out of the opening and the lining has to turn yet in this photo.
Next the open seam in the lining had to be sewn by hand.
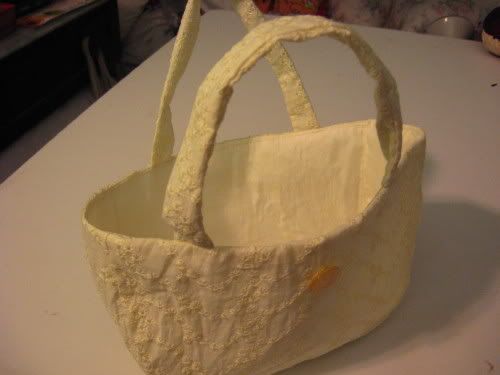
And we have a finished purse that can stand up by itself. I hope Emily will like it!
No comments:
Post a Comment