The other day a friend asked me to make some white linen napkins for her. She wanted them 12" square. Linen can be sort of thick, and I was trying to figure how to finish off the edges. Serging and just turning that under wouldn't look too good, since there really wasn't a 'wrong' side to these. So I thought of having a 1/2" hem all around, and having it doubled so that the raw edges were well hidden. Well, that is going to be thick and what could I do to finish the corners nicely? That's when I thought of mitering them. This is not the first time I've tried to do mitered corners, and everytime seems to take a long time in figuring out how to make it work. That was when I decided to document it here! Now the next time I can just pull this out and reread it, and maybe this will be useful for someone else too.
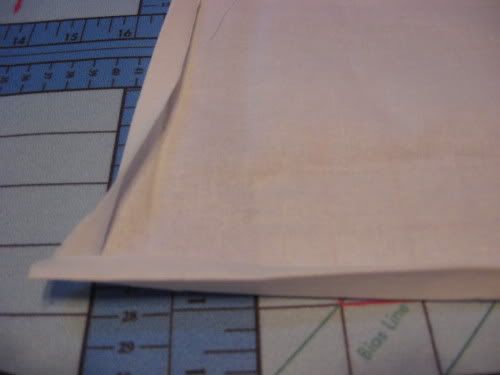
I started by adding an inch all the way around. So I cut out a 14" by 14" square. Then I pinned and pressed under 1/2" and 1" inch all around.
Now I had to figure out the corners. I started with some pieces of paper and then with some extra linen scraps to try and get this right before I did the real napkins.
Gee, looks like I either got too close or didn't hold the camera steady. Some of these photos are fuzzy. I don't notice that when I look at them on the camera, and I don't download them until I've finished whatever I'm sewing. Here all of this was done when we were in MN at my studio there, and I didn't download any of them until last night back here in Detroit. These are the only photos I have. Hope you can still see what I'm trying to show you.
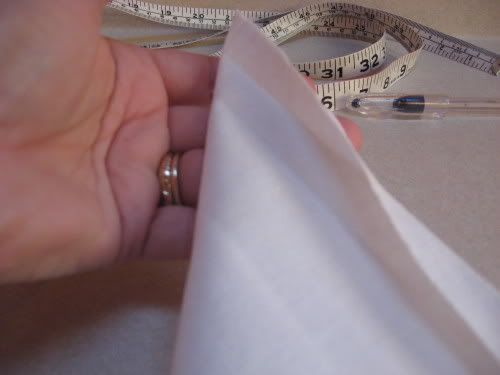
Here's what I came up with. With right sides together fold the corner on a diagonal. Make sure that you have the exact corner by matching up the cut edges of the napkin.
Pin the 1" hem going all the way to the end at the diagonal.
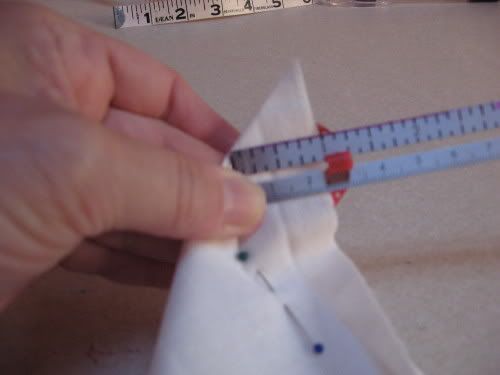
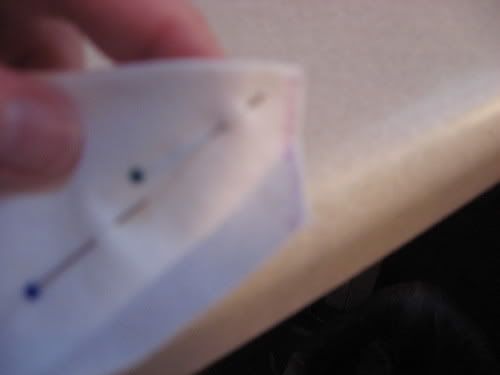
Where that last pin is, where the hem meets the diagonal, draw a line perpendicular to the diagonal
I used a fabric marking pen that is air erasable.

Now sew from the diagonal to the 1/2" fold line only, not all the way to the edge. Trim the seam and also trim the fabric from the 1/2" fold to the end.
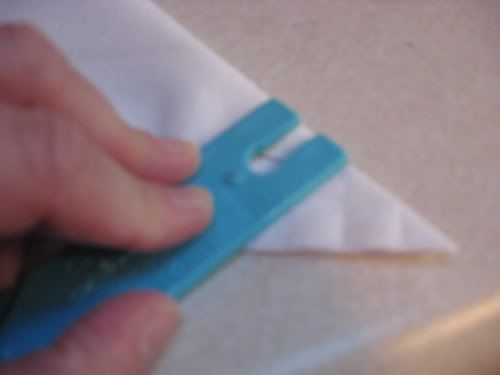
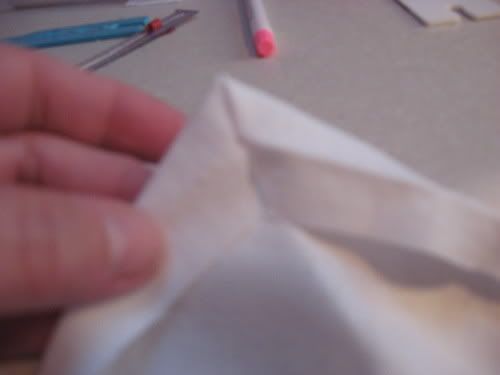
Turn right side out using a point turner in the corner. You can see that there is a diagonal seam from 1/2" to 1" and the rest from the edge to the 1/2" fold is not sewn.
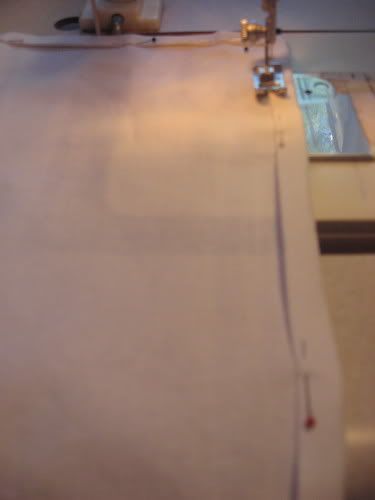
Now you can easily turn in the rest of the hem, from the edge to the 1/2" fold and the extra fabric that would have bunched up in that corner has all been trimmed away. Pin the corners and the rest of the seam. Then sew and press the final napkin.
Looks like I forgot to take a photo of the finished product. But I think you can see how it's going to work from the photos above.
What do you think? Would this work for you? Please let me know if this is helpful!
Thank you for this tutorial! I always avoided these like the plague because I could never just "figure it out" or make it look nice and not bluky! Now it makes perfect sense!
ReplyDeleteThank you! So glad it makes sense to you.
ReplyDelete