Sunday, May 22, 2011

Why I like selling on Artfire

Artfire is having a contest and they are going to randomly pick a winner from the blog posts that are made.  They want to know the 5 things I like best about selling on Artfire.  I think my number 1 reason is that I pay a flat fee per month, no matter how many items I list, or how many items I sell.  There's no additional fee for either of those.  I had a shop at another online venue before where I had to pay a fee to list an item and it was only good for a few months, then if I wanted to list it again I had to pay again.  And if someone bought my item then I had to pay a percentage on that.  None of that happens at Artfire.

Another thing I like about Artfire is how helpful the staff and the other sellers are.  There is a 45-day guide to help you set up your studio and get started on the right foot.  There are help guides on photographing your items.  Recently Artfire sponsored a social media boot camp. I learned more about Facebook fan page, learned about Twitter and got started tweeting, learned about writing a blog and got started on here.  Artfire staff want all of us to succeed. 

The other sellers are so friendly and genuinely concerned about each other. I've made several new friends in the forums.  Again the 45-day guide was helpful in getting started here.  With the other venue I mentioned I tried chatting in the forums but no one ever replied.  At Artfire I can ask other people to critique my shop and help me make it better.

I have an Artfire Pro account, which is what I was describing above with the fixed monthly fee.  It is also possible to have  a Basic account where there is no fee what so ever.  It's free!  But there are several advantages to the Pro account.  With the Artfire Pro account I can customize the look of my shop.  There are a number of tools I can use for promoting or making changes to my shop.  I can make coupons that apply to certain items or categories of items.  I can select the amount off for the coupon, and the date it expires. There is a 'vacation mode' which lets me decide whether to have my shop show all my items with a message that I'm away until a certain date, or to close the shop until that date.  This is extremely handy when I go out of town to visit my grandchildren!  I can keep the shop open, but not worry about being away and unable to ship an item as quickly as usual.

I can select to have my items automatically fed into the Goggle Merchant Center.  So that they will be more readily found in searches.  The majority of customers on Artfire come from the outside web, and not just from other Artfire sellers.  And anyone can purchase an item from any Artfire store without having to join Artfire.  Artfire provides a 'Rapid Cart' that I can drop into my website.  I don't have to figure out how to code or purchase some other method for selling from my website.  There's also an Artfire Kiosk that I can have on my Facebook Fan page to promote my items.

There is also a referral program going on now.  if you click on this link, Become an ArtFire Pro with this link and get your 3rd month free! as it says you'll get your 3rd month for free.

Monday, May 16, 2011

Buy Yourself a Gift Artfire Collection

This is starting out as an exciting week! I had a sale of placemat/napkin set in my Artfire studio, and now my oven mitts are included in a new guild collection. YEA!!!  Happy Monday everyone.

Sunday, May 15, 2011

KCWC Day 5, 2011

At the beginning of this week I made the little yellow dress for my granddaughter, Emily.  She is very much into purses, so I decided I'd make the purse that was in the pattern for her as well.    I wanted the sides to be somewhat stiff, so I used fusable craft interfacing, which was stiffer than what you'd put into shirts.  And since the eyelet fabric was so pretty, I decided to fuse the interfacing to the lining instead.  I used a lighter-weight interfacing for the gusset so they purse could fold on itself. 

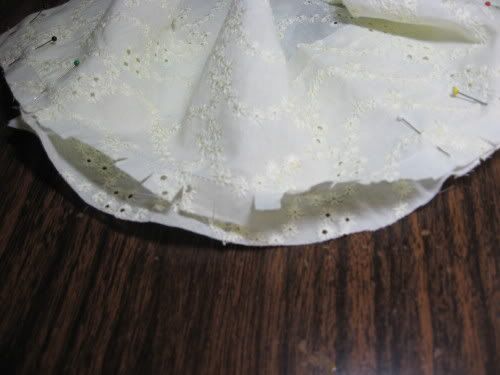
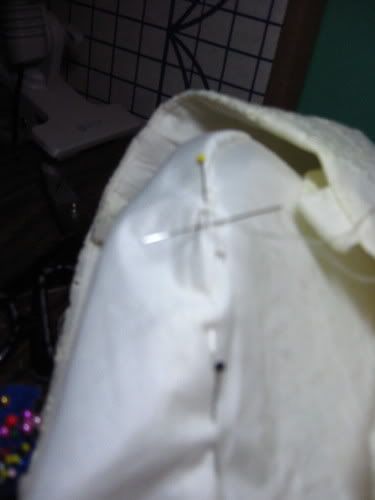
The first step was to stay-stitch the gusset.  Since the pattern has 5/8" seams I normally stay-stitch at 1/2".  Then when I cut up to the stay-stitching, there's no chance of cutting too far.  This photo shows the stay-stitched and cut gusset being pinned to the side of the purse.

Here's the completly pinned piece. 

Laying behind it is the interfaced lining gusset that has been stay-stitched but not yet cut. Once I got the purse sewn together, I realized that it was going to be awfully big for a 2-year old, so I trimmed 1" off the top of everything.

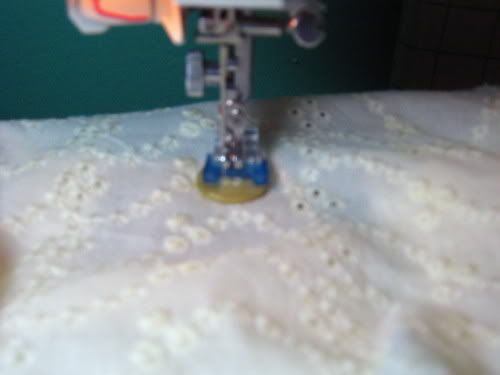
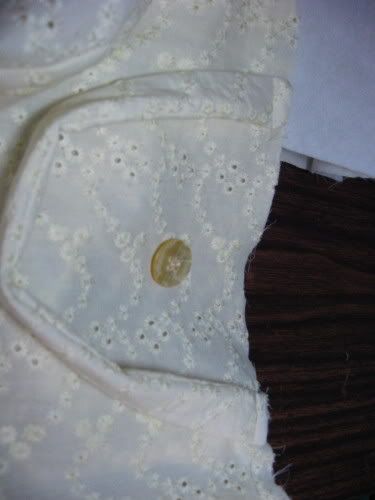
I decided that I wanted some buttons on the purse for decoration.  So I stitched those on next. 

Then came the handles.  I'd used the lighter weigth interfacing in those as well.  They had been sewn with a 3/8" seam.  I sewed the end of one of them to make it easier to turn right side out using an unsharpened pencil to push.  I basted them to the top of the purse using 1/2" seam so that it wouldn't show when I did my final 5/8" seam, and I could just leave that basted seam there as well.  You can see how the handle at the top of the photo has the end sewn.

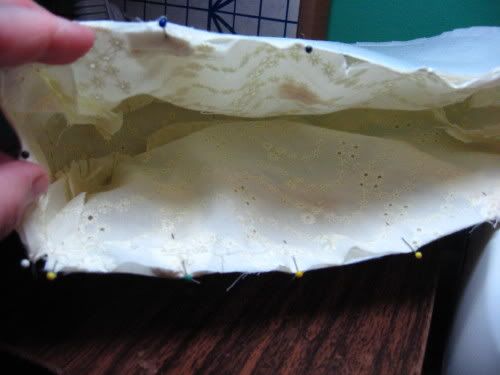
Next the lining was put together in the same fashion as the purse, but with a few inches left open on the side where the gusset attached so that the purse could be turned right side out at the end.  This photo shows the purse all pinned to the lining and ready to be sewn.

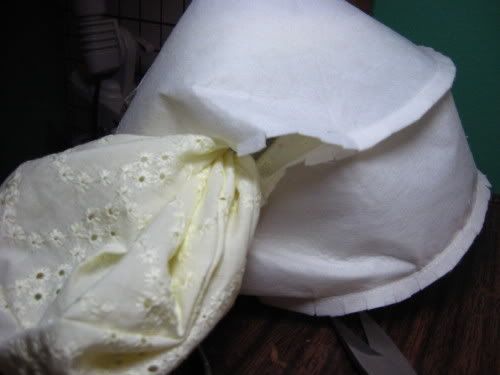
After doing this seam I trimmed it and then understitched the seam to the lining to help keep the eyelet fabric from moving into the inside of the purse.  With the stiff interfacing it was a little hard to turn the purse right side out.   You can see the purse coming out of the opening and the lining has to turn yet in this photo.

Next the open seam in the lining had to be sewn by hand.

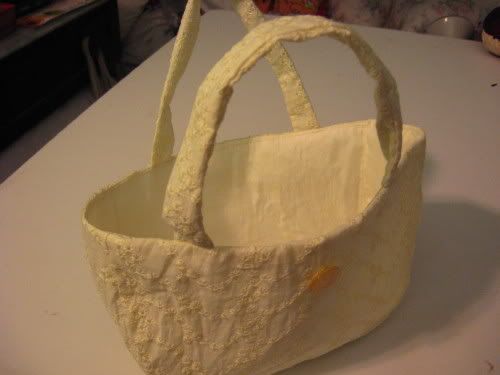
And we have a finished purse that can stand up by itself.  I hope Emily will like it!

Thursday, May 12, 2011

KCWC Day 1, spring 2011

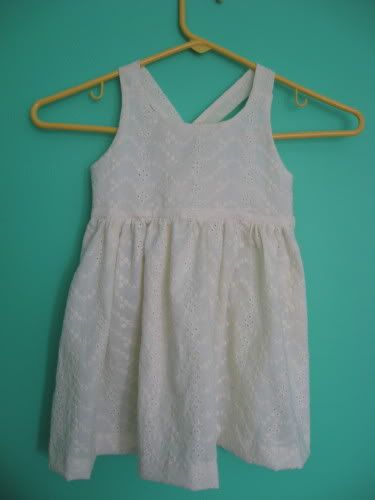
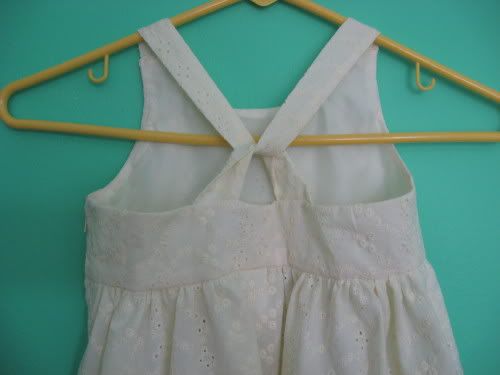
This week is Kids Clothing Week Challenge Spring 2011 sew along organized by Elsie Marley (see details http://www.elsiemarley.com/kids-clothes-week-spring-2011.html).  The idea is that you spent at least 1 hour per day working on something for your kids, only in my case it'll be for my grandkids.  A couple of weeks ago I posted about the Thomas the Train shirt I'd made for Jake.  So Mother's Day I started making a dress for his twin sister, Emily.  I'd seen this cute McCall's pattern 6310 ( http://bit.ly/kb9ZCN) and a yellow eyelet fabric that looked so much like spring, that I thought would be perfect for dress A.

I'm going to make the purse too, as Emily loves to carry a purse, but I've only got as far as cutting out the purse.  I actually started on the dress on Sunday, and finished it Monday, so I'm calling it a Day 1 item, even though it's taken me most of the week to get the photos and get it out there.  Obviously the dress took more than 1 hour to make.

It has a left side-zipper and the shoulder straps cover over in the back.

I've added the photos to the Elsie Marley group on Flickr as well.

Related Posts Plugin for WordPress, Blogger...