Last Friday I said I was going to do a post about Emily's Oliver + S Family Reunion dress, which I posted on Monday, and then one about Maddy and her doll's dresses. That's the subject of this post. The patterns that I used were Kwik Sew 3767(http://bit.ly/jjISuQ) for Maddy and 3771 (http://bit.ly/ltUjFh) for her doll. The doll pattern has several options and there are other Kwik Sew patterns for girls to match the doll options.
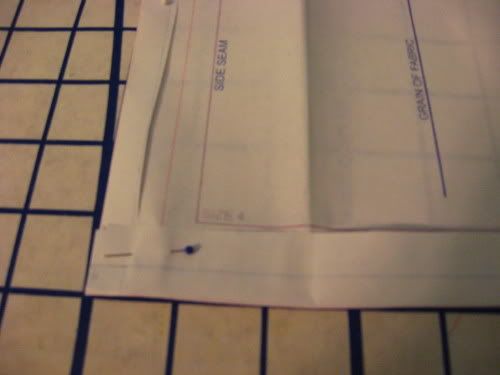
The pattern had sizes 4 through 8, and Maddy currently wears size 7, so I traced the pattern pieces for the top and folded and pinned the ones for the skirt for a size 7.
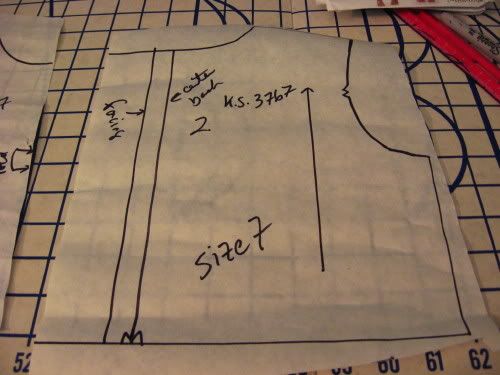
That way I can use the pattern later on for the larger size. The top photo is traced version of the back of the bodice and the lower photo is the folded over pattern for one of the skirt sections.
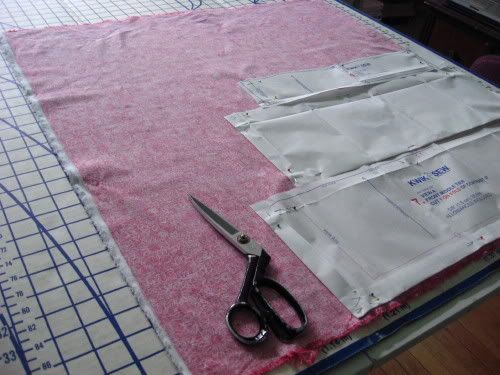
I decided to cut both the girl's and doll's patterns at the same time, since there were 3 different fabrics involved. And since the doll pattern was in only one size, I cut it directly without tracing any of the pieces. A lot of the small pieces for the doll dress could be fit in spaces left by the girl's pattern. Here's the red floral that would be the middle layer of the skirt. The 2 large pattern pieces are for Maddy's dress and the smaller one on top for the doll. Here they all had to be on fold.
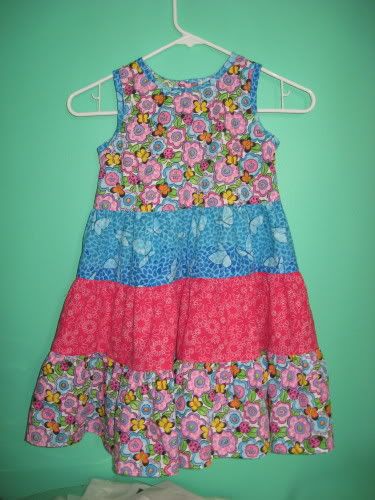
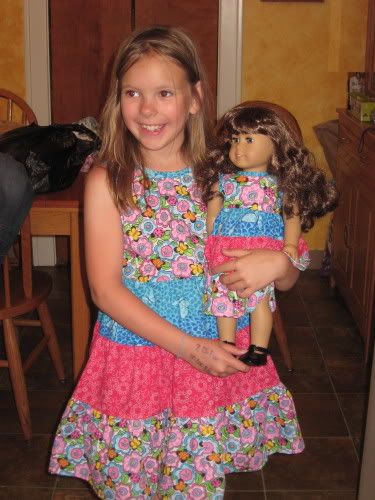
I made Maddy's dress first and then worked on the doll dress. Here's Maddy's finished dress.
For the doll dress the seams were all 1/4". Since the fabric tended to ravel I adjusted my serger for a 3-thread narrow overlock that was 1/4" wide. Each of the skirt pieces had to be gathered. I used a long stitch and loose tension on my regular sewing machine to create a gathering thread. Then I match the center front and any notches on the pattern and pin those together before pulling the gathering thread. Especially when something needs to be gathered tightly, I will pull it gently from each end and only gather to the middle, rather than trying to pull it all to the other side. This method has worked well for me so as not to break the thread I'm pulling.

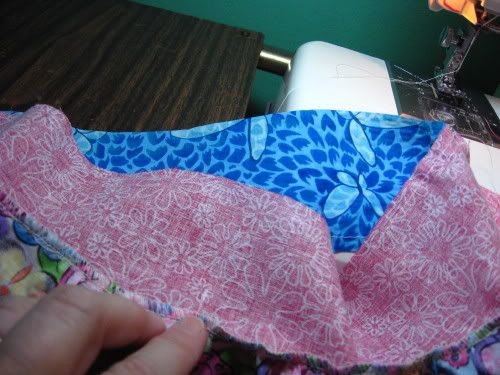
The photo below shows the center front and ends pinned prior to gathering the red floral to match the bottom of the blue.
The photo below shows the same red gathered to the blue after it's been pinned.
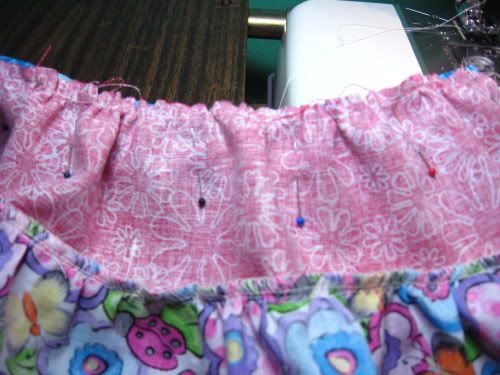
I typically use a lot of pins to try and hold the gathers in place and to have them spaced out across the distance. I then sewed this on my machine, but because it was such a small seam and you can see it raveleing in the photo above, I then carefully re-did that seam on the serger. Moving slowly and making sure to keep the extra fabric out of the way. I didn't want to trim any fabric, just overlock it to stop the raveling. In the photo above you can see the sergered seam where the bottom layer is sewn to the red floral.
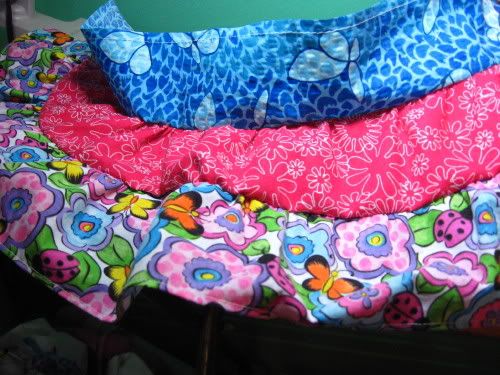
So here's the skirt so far. Now for the top. The pattern said to use purchased bias tape for the neck and armhole facing. I didn't want to do this as it would not match Maddy's dress where the bias facings had been cut from the blue fabric. So I made my own bias facing. I measured purchased bias tape so I'd know how wide to cut it, pulled out the blue fabric where I'd already cut the bias for Maddy's dress, and cut what I needed.
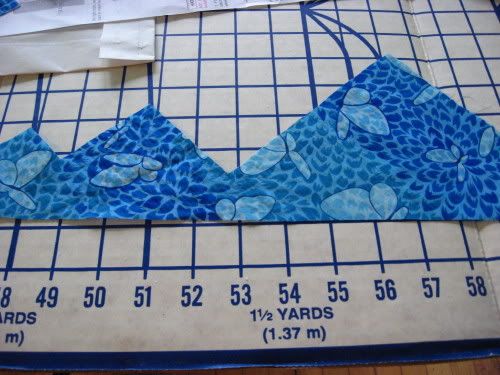
Then carefully ironed the bias pieces so that I could attach them similar to purchased bias tape.

Because I knew there was no way that my bias tape would be as perfect as the purchased, with one side slightly smaller than the other, I sewed the tape to the inside of the doll dress neck, and sewed it down.
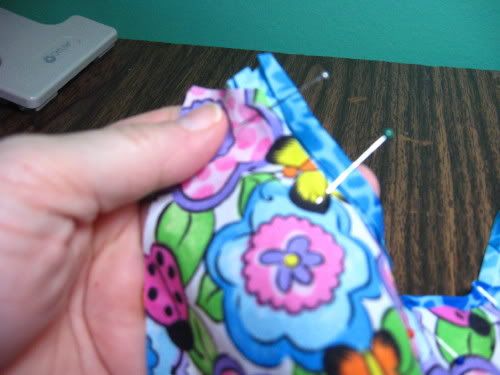
Then I turned it to the right side and sewed it again. Photo below shows the completed neck facing, but it's fuzzy.
For the side seams on the bodice, I sewed them directly on the serger. The long tail of thread that was left, I pulled back into the seam using a bodkin rather than putting an fray check on it. I don't care for the various fray checks as I feel it makes the end of the seam stiff.
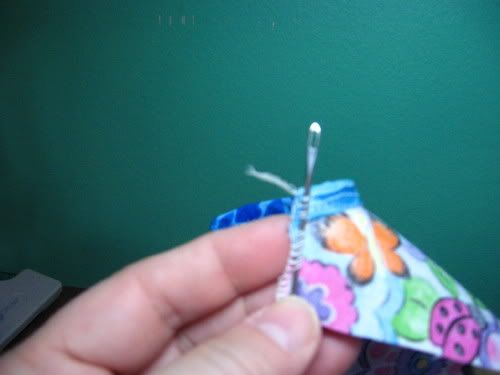
Here's the finished seam. You can see how the threads have been pulled back from the right side into the seam.
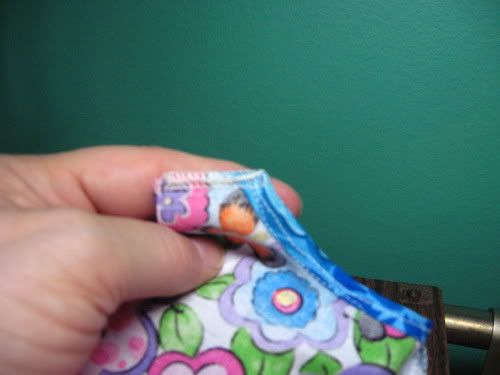
With the top completed it was time to sew it to the skirt and to gather up the blue floral to match the bodice. Next came the velcro in the back of the dress, and the doll dress was done!
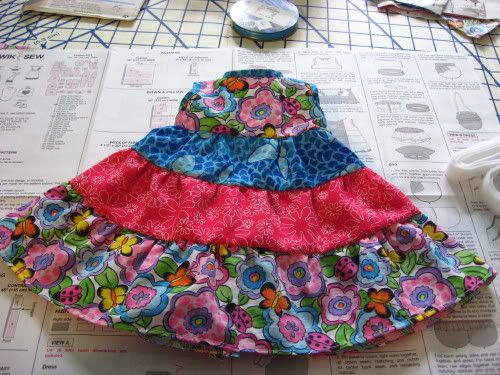
Here it is laying across the pattern instructions. So the final piece of all of this is how well did Maddy like it all? I think you can tell from the photo below.
No comments:
Post a Comment